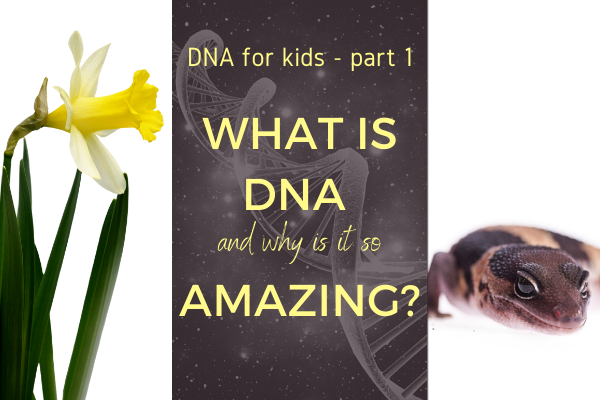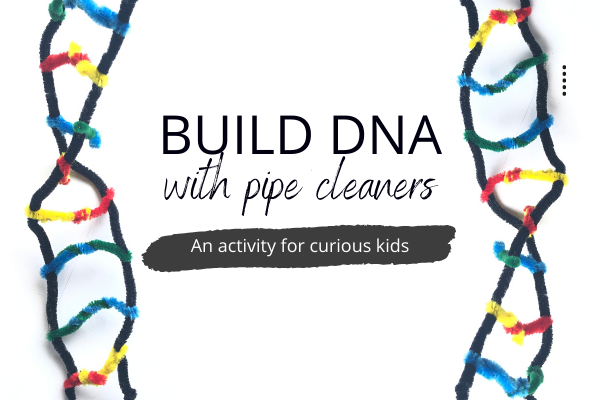

This is the second post in my ‘DNA for kids’ blog series. It will show you how to build a DNA model using pipe cleaners to help your child understand the structure of DNA and how it encodes information.
If you have been through part 1 in the series then your child now has an idea of why DNA is the most amazing molecule in the Universe and they are excited and curious to know more.
Give your child the opportunity to consolidate what they’ve learnt so far with this fun, hands-on activity.
My kids loved this!
Build a DNA model with pipe cleaners#
To give your child a better grasp of the structure of DNA and how it encodes information, let’s build a DNA model from pipe cleaners!
Watch the video for a quick recap on the structure of DNA and step-by-step instructions for building a DNA model with pipe cleaners. I’ve written out more details for each step below.
You will need#
- Pipe cleaners – two of each of at least five different colours
- Scissors to cut the pipe cleaners
- Pen and paper to make labels
What to do#
1. Prepare your materials#
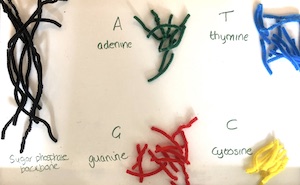
- Choose a colour for your DNA backbone (we chose black)
- Choose four colours for your DNA bases (we chose blue, green, red and yellow)
- Set aside the pipe cleaners for the backbone
- Cut the pipe cleaners for your bases into segments around 5 cm long
- Make four piles of bases and add a label to each: adenine, guanine, cytosine, thymine (or you can use A, G, C, T)
2. Build the first strand of DNA#
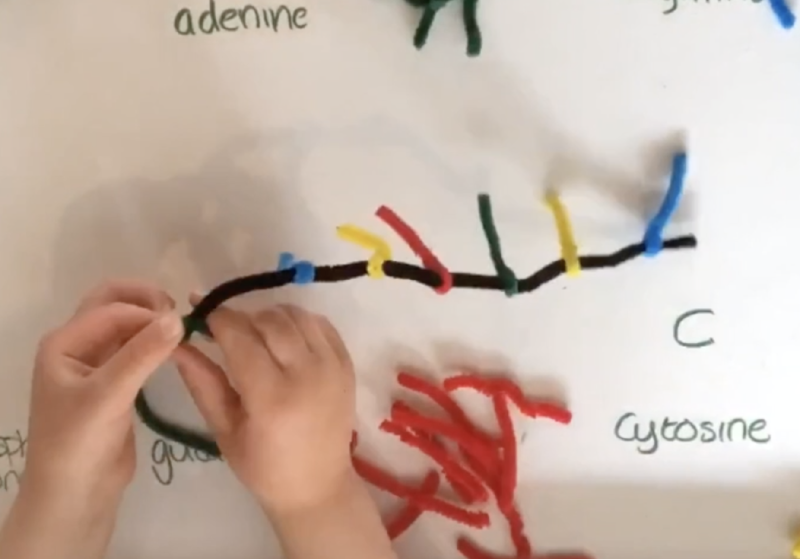
- Give one of the DNA backbone pipe cleaners to your child and show them how to twist bases onto it at regular intervals.
- Let them complete this first strand. They can choose any bases in any order. If they want a longer molecule, twist additional backbone strands together and continue twisting bases onto the backbone.
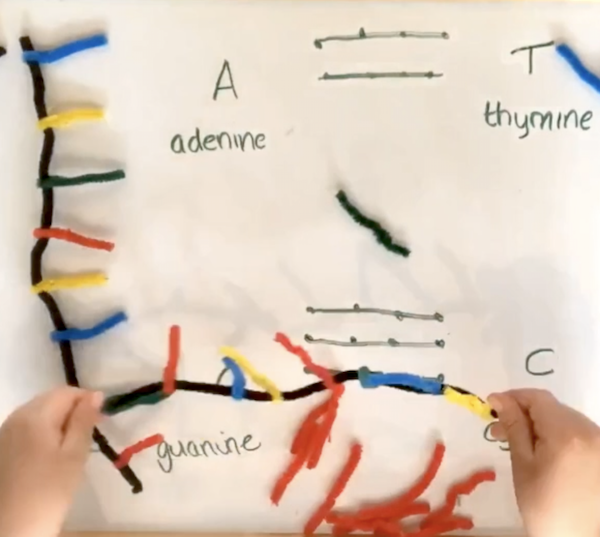
3. Build the second DNA strand#
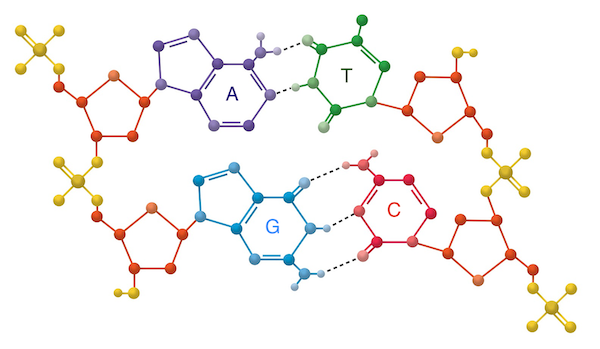
- Now take your child through the DNA base-pairing rules:
- A always pairs with T (and vice versa)
- G always pairs with C (and vice versa)
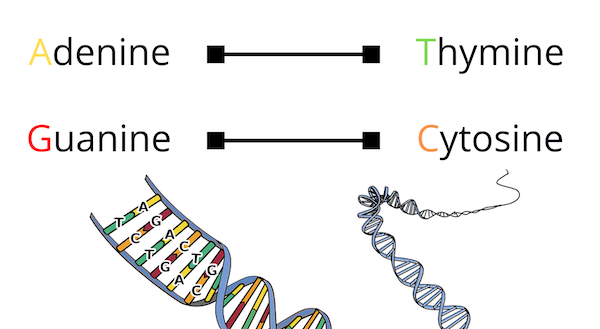
Does your child remember why the bases pair this way? It’s because of their shapes: any other configuration makes DNA unstable.
- Now give your child another backbone pipe cleaner
- Let them twist bases onto the second strand, using the first strand as a guide and following the base-pairing rules.
- E.g. if they made the first strand with A-C-G-T-T-A they would need the second strand to have T-G-C-A-A-T.
4. Make a double helix#
- Once your child has completed the second strand they can zip up the DNA by twisting the base pairs together
- Show them how to make a right-handed double helix by twisting the backbone: holding the top with your left hand and the bottom with your right, twist your right hand to the right and your left hand to the left.
- DNA model complete!

More learning fun#
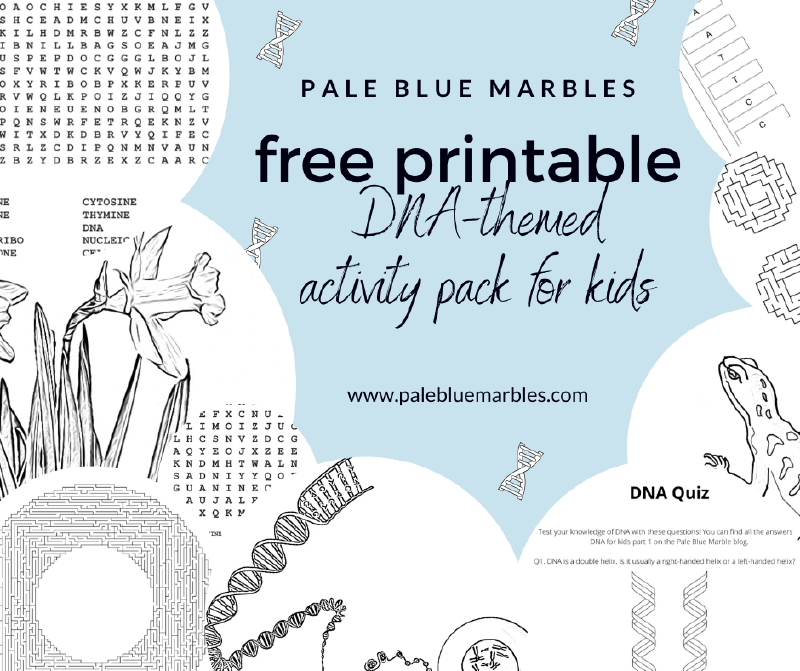
To supplement my ‘DNA for kids’ series, I’ve created a printable activity pack with DNA-themed puzzles, worksheets, quiz and colouring pages.